Contents
- Managing Kaspersky Thin Client in the thin client interface
- Connecting to a remote environment
- Using the connection panel
- Viewing information about Kaspersky Thin Client
- Viewing network status information
- Viewing Kaspersky Thin Client notifications
- Managing certificates in the thin client interface
- Closing a connection session
- Managing Kaspersky Thin Client using hotkeys
- Updating Kaspersky Thin Client in the thin client interface
Managing Kaspersky Thin Client in the thin client interface
This section describes the main Kaspersky Thin Client operating scenario and contains instructions for using Kaspersky Thin Client.
The main Kaspersky Thin Client operating scenario consists of the following steps:
- Preparing Kaspersky Thin Client for startup
Connect the peripherals to the thin client before starting it for the first time.
- Starting Kaspersky Thin Client
Turn on the thin client to get started.
- Connection session
Connect to a remote environment and start working.
- Locking the desktop and resuming operations
If you need to temporarily leave your workstation, lock your remote desktop. Resume operations when you return to your workstation. For detailed information about locking the remote desktop and resuming operations, see the manual of the operating system you are connecting to remotely.
- Closing a connection session
Close the connection to the remote environment before shutting down.
- Stopping Kaspersky Thin Client
Turn off the thin client at the end of the workday.
Connecting to a remote environment
You can use Kaspersky Thin Client to do the following:
- Connect to a remote desktop via RDP
To connect to a remote desktop via RDP:
- Turn on Kaspersky Thin Client.
- In the main window of Kaspersky Thin Client, click the RDP button.
- In the window that opens, specify the connection settings:
- In the Server field, specify the IP address or name of the Microsoft Remote Desktop Connection Broker server.
Kaspersky Thin Client saves the last entered server address with which a connection was successfully established, so you do not need to enter it again when reconnecting.
- In the User name field, enter the local or domain user name. You can specify the domain user name in
Domain\User nameformat or inUser nameformat.Kaspersky Thin Client saves the last entered user name that successfully connected to the server, so you do not need to enter it again when reconnecting.
- In the Password field, enter the user password.
The user password is not saved; the next time you connect, you will need to enter the password again.
- In the Server field, specify the IP address or name of the Microsoft Remote Desktop Connection Broker server.
- To configure settings for connecting to a remote desktop, click Settings in the left part of the window.
- Press Enter or click Connect.
If you are connecting to a remote desktop for the first time and Kaspersky Thin Client is not included in an
, check the settings of the added certificate in the opened Add certificate window and click the Add certificate button.If Kaspersky Thin Client was previously added to an administration group that is managed through the Kaspersky Security Center Web Console and the Kaspersky Security Center administrator added a server authentication certificate for this administration group, the connection is established automatically.
The server authentication certificate will be added to the system certificate store of Kaspersky Thin Client and will be used for subsequent connections.
- If you specified the Remote Desktop Connection Broker collection ID when configuring a remote desktop connection and multiple desktops are available to you, in the remote desktop selection window that opens, click the button with the name of the desktop to which you want to connect.
The remote desktop window opens and the connection session begins.
- Connect to a virtual application via RDP
To connect to a
via RDP:- Turn on Kaspersky Thin Client.
- In the main window of Kaspersky Thin Client, click the RDP button.
- In the window that opens, specify the connection settings:
- In the Server field, specify the IP address or name of the Microsoft Remote Desktop Connection Broker server.
Kaspersky Thin Client saves the last entered server address with which a connection was successfully established, so you do not need to enter it again when reconnecting.
- In the User name field, enter the local or domain user name. You can specify the domain user name in
Domain\User nameformat or inUser nameformat.Kaspersky Thin Client saves the last entered user name that successfully connected to the server, so you do not need to enter it again when reconnecting.
- In the Password field, enter the user password.
The user password is not saved; the next time you connect, you will need to enter the password again.
- In the Server field, specify the IP address or name of the Microsoft Remote Desktop Connection Broker server.
- Click Settings in the left part of the window.
- In the Remote Desktop Connection Broker collection ID field, specify the collection ID in the format
tsv://MS Terminal Services Plugin.1.collection_id(collection_idrefers to the specific identifier of the collection). - In the Application alias field, specify the alias of the virtual application that you want to open.
Kaspersky Thin Client saves the alias that you entered last, so you do not need to enter it again when reconnecting.
- Click the back arrow in the upper-right corner of the window to return to the connection window.
- In the connection window, press Enter or click Connect.
If you are connecting to the selected virtual application for the first time and Kaspersky Thin Client is not included in an administration group, check the settings of the added certificate in the opened Add certificate window and click the Add certificate button.
The certificate will be added to the system certificate store of Kaspersky Thin Client and will be used for subsequent connections.
If the Kaspersky Security Center administrator has already added Kaspersky Thin Client to an administration group and added a server authentication certificate for this group, the connection will be established automatically.
The window of the running virtual application opens and the connection session begins.
To switch to another window of a running virtual application,
Hover the mouse over the application icon in the connection panel in the upper part of the screen and select the relevant window from the drop-down list.
- Connect to a remote desktop managed by Basis.WorkPlace
- Connect to a remote environment in the Web Access application

Multiple simultaneously running connection sessions are not supported.
Kaspersky Thin Client uses
encryption to protect all connection sessions and to protect data from being intercepted or replaced. Page topUsing the connection panel
The connection panel is displayed in the upper part of the screen after you successfully connect to a remote environment, and is used for managing the active connection session.
To manage a remote connection session with the help of the connection panel, do as follows:
- To close the remote connection session, click Disconnect from server.
- To change the thin client interface language, click the abbreviated name of the current language and select the relevant language form the drop-down list.
- To view Technical Support information, click
 .
.
The connection panel collapses automatically when out of keyboard or mouse focus.
To switch to another window of a running virtual application,
Click the application icon in the connection panel and select the relevant window from the drop-down list.
To collapse or restore the connection panel, do as follows:
- To restore the connection panel, click the collapsed panel or press Ctrl+Alt+Home.
- To collapse the connection panel with keyboard focus on it, press Esc.
- To collapse the connection panel without moving focus away from the remote session window, press Ctrl+Alt+Home.
You also can move a collapsed connection panel horizontally to the right or left.
To change the position of the connection panel,
Click the connection panel area that has no buttons and drag it with the mouse.
The position of the panel on the screen is saved for future connections, even after the thin client is restarted or shut down.
You also can control the connection panel and remote session with hotkeys.
Page topViewing information about Kaspersky Thin Client
You can view information about Kaspersky Thin Client under Tools → System info.
The System info section (see the figure below) shows the following data:
- Kaspersky Thin Client version number
- KasperskyOS version number
- Link to the Kaspersky Thin Client Online Help
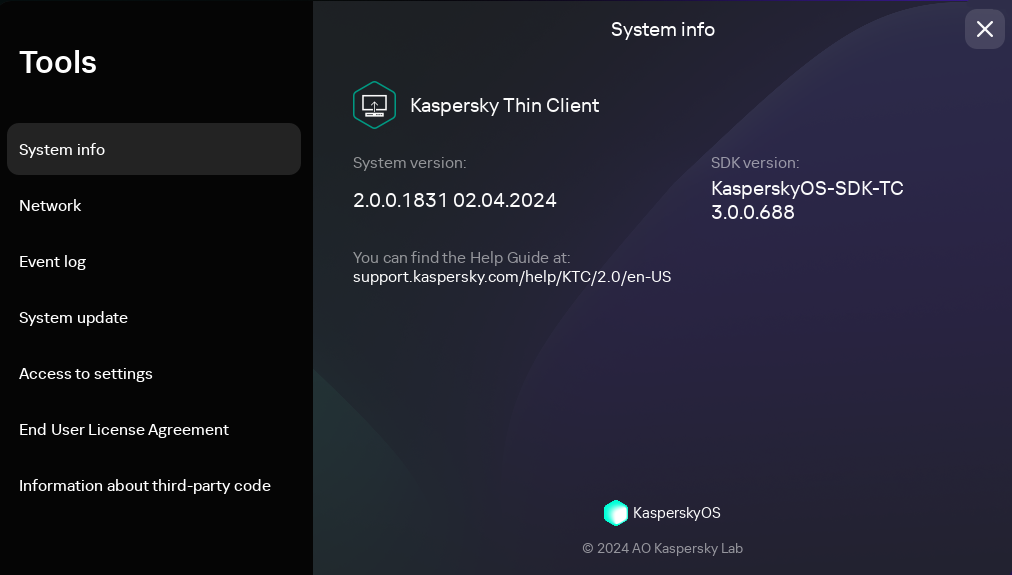
Tools. System info section
Viewing network status information
You can view Kaspersky Thin Client network connection settings and network status under Tools → Network. Information about Kaspersky Thin Client network connection settings is updated automatically at least once every second.
The Network section displays the following information about the settings for connecting Kaspersky Thin Client to the network (see the figure below):
- MAC address: MAC address of the device where Kaspersky Thin Client is installed.
- IP address: IP address of the device where Kaspersky Thin Client is installed.
- Subnet mask: subnet mask that contains the IP address of the device.
- Default gateway: address of the network gateway.
- DNS servers: addresses of DNS servers. To view all addresses (if there are more than three), hover the mouse over the setting value.
- Connection: status of the network connection of Kaspersky Thin Client and the connection speed.
- Sent: number and total size of network packets sent from Kaspersky Thin Client.
- Received: number and total size of network packets received by Kaspersky Thin Client.
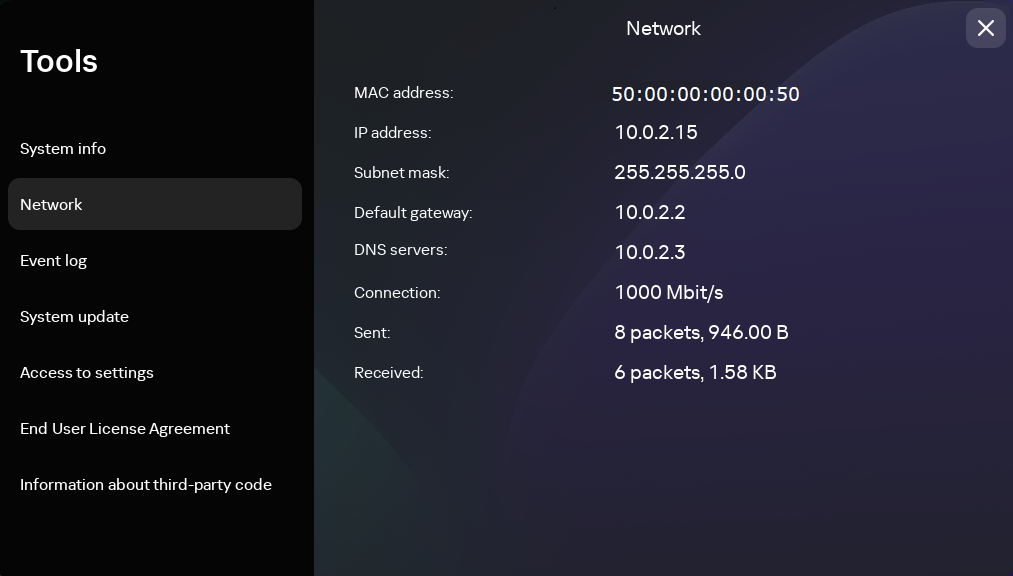
Tools. Network section
Viewing Kaspersky Thin Client notifications
The Kaspersky Thin Client interface displays the following types of notifications:
- Prompts to select an action by clicking a button, for example, run or defer an update. After some time, Kaspersky Thin Client will repeat any prompts that you closed without selecting an action. A prompt is considered to be resolved after you select an action.
- A prompt to go to another section of Kaspersky Thin Client to configure further settings. For example, the system prompts the user to set up monitor layout when you connect a second monitor. You can choose between going to the other system section by clicking the appropriate button or dismissing the prompt.
- Informational notifications. These notifications do not require you to take any action. Your only option is to close the notification after reviewing its contents.
If the cursor or keyboard focus are outside the notification area, unresolved and unread prompts are hidden, and the counter in the control panel displays their number.
During a connection session, update notifications are not automatically hidden. You can manually close these notifications or select the relevant action to close a notification.
To view a list of all Kaspersky Thin Client notifications,
In the Kaspersky Thin Client control panel, click  .
.
A list of notifications is displayed if new notifications are available (see fig. below).
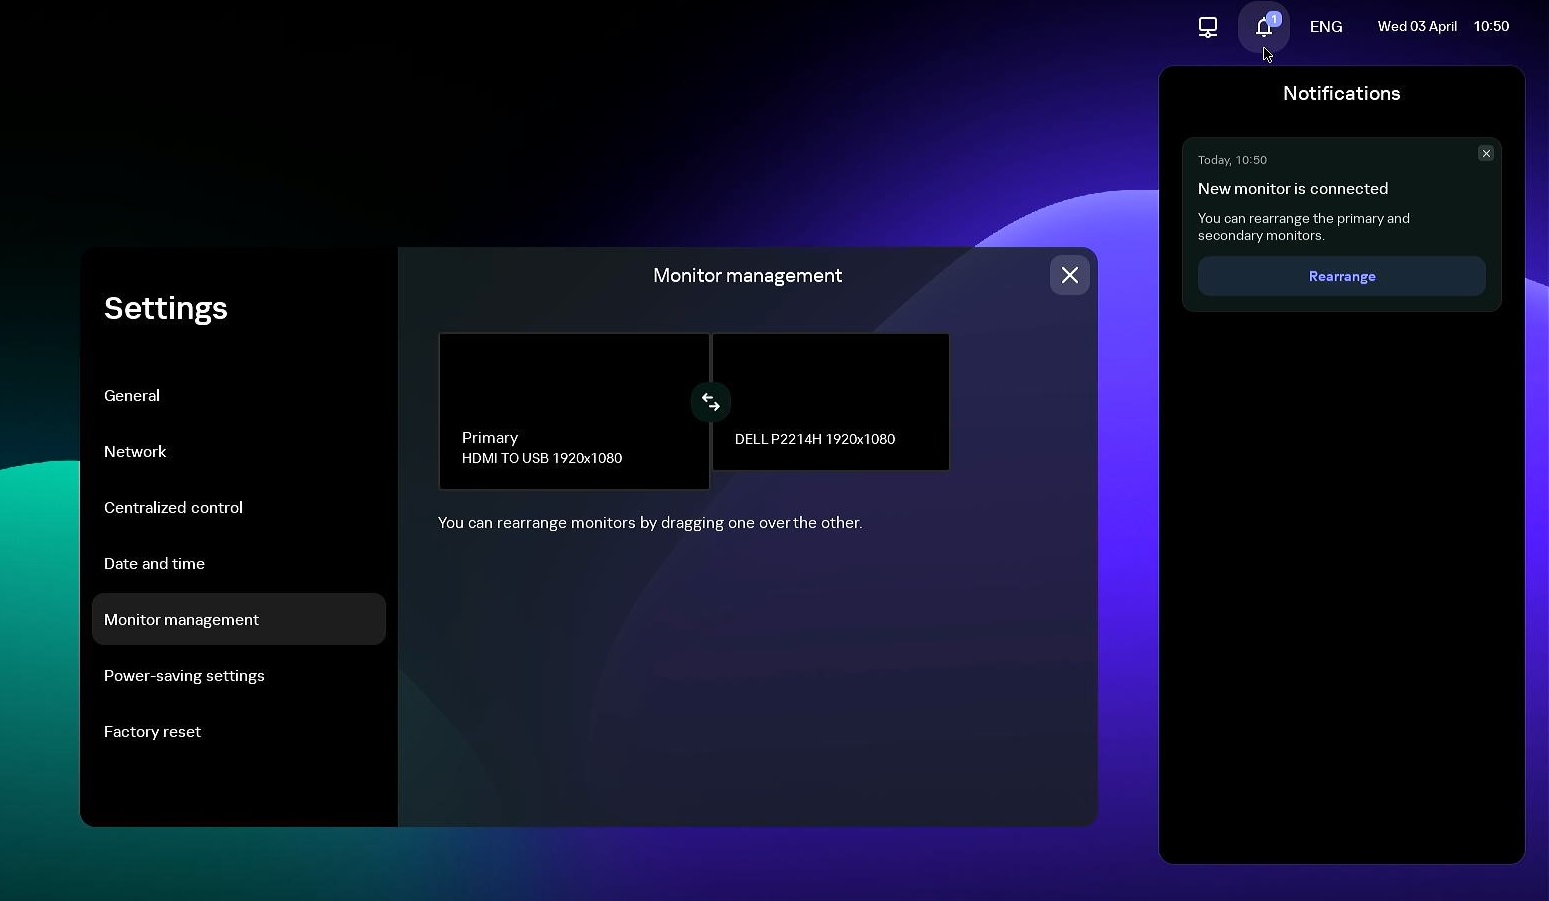
Kaspersky Thin Client notifications panel
Page topManaging certificates in the thin client interface
Kaspersky Thin Client does not check to see if the certificate is on the Certificate Revocation List.
About certificates for connecting to Kaspersky Security Center
If the Kaspersky Security Center administrator replaces the certificate for connecting to Kaspersky Security Center, some cases may require confirmation of the certificate replacement. For example, this may be required if the thin client was turned off for a long time, has not synchronized with Kaspersky Security Center, and the certificate previously used to connect to Kaspersky Security Center has expired.
To confirm replacement of the mobile certificate for connecting to Kaspersky Security Center:
- Turn on Kaspersky Thin Client.
- In the Certificate must be replaced window that opens, view and memorize the confirmation code and provide it to the Kaspersky Security Center administrator. The administrator contact details are provided in the Certificate must be replaced window. The Kaspersky Security Center administrator sends you a certificate replacement code in response.
- Click Next.
- In the Certificate replacement code window that opens, enter the code provided by the Kaspersky Security Center administrator and click the Confirm button.
As a result, the new certificate for connecting to Kaspersky Security Center will be saved in the Kaspersky Thin Client certificate store and will be subsequently used to connect to Kaspersky Security Center.
About certificates used to connect to a remote environment and to a log server
If a thin client is not connected to Kaspersky Security Center and the administrator has not assigned certificates for it in the Web Console, a user could also connect to nodes and use certificates that are not controlled by the administrator. You are advised to configure the connection of a group of thin clients to a log server and to a remote environment only using certificates that were assigned by the administrator in the Web Console. These measures will help prevent Kaspersky Thin Client from connecting to untrusted nodes.
You can use or reject a certificate in the Kaspersky Thin Client interface in the following cases:
- When connecting Kaspersky Thin Client to Kaspersky Security Center for the first time.
- When connecting to a remote environment for the first time.
- When connecting to a log server for the first time.
Accepted certificates are saved in the system store of Kaspersky Thin Client.
If a thin client is included in an
and this group has been assigned certificates in the Web Console, you will not be able to manage the certificates in the Kaspersky Thin Client interface. Page topClosing a connection session
To close a remote connection session,
Restore the connection panel and click Disconnect from server in the panel.
The session closes, and a connection window is displayed.
Page topManaging Kaspersky Thin Client using hotkeys
You can use dedicated hotkeys and key combinations when working with Kaspersky Thin Client and during the connection session. The table below lists all the available hotkeys and key combinations.
Hotkeys and key combinations for Kaspersky Thin Client
Keys and key combinations |
Actions |
|---|---|
Win |
Open or close the shut down menu. |
→ ← |
Switch between available connection options (RDP, Basis.WorkPlace, Web Access) in the Kaspersky Thin Client main window. |
↑ ↓ |
|
Tab |
Switch left to right or top to bottom between the following:
When switching, unavailable items, such as disabled fields, and inactive items are skipped. |
Shift+Tab |
Switch right to left or bottom to top between the following:
When switching, unavailable items, such as disabled fields, and inactive items are skipped. |
Space or Enter |
When switching, unavailable items, such as disabled fields, and inactive items are skipped. |
Esc |
|
Alt+Shift |
Change the keyboard language. |
Alt+Page down Alt+Page up |
Navigate to the next or previous section of the Settings or Tools window. When you switch between the sections, their state and the element in focus are preserved. For example, in the Settings window, when you switch from the General section to the Network section, the focus in the General section remains in the same field where it was when you switched to another section. |
Ctrl+Alt+Home |
Collapse or restore the connection panel. |
Ctrl+D |
Close a connection session. The shortcut only works on an expanded connection panel. |
Win+I |
Open Settings while in the Kaspersky Thin Client main window if access to the settings is unblocked. |
Win+U |
Open Tools while in the Kaspersky Thin Client main window. |
Win+Esc |
Shut down Kaspersky Thin Client while in the Kaspersky Thin Client main window. |
Win+F12 or Win+End |
Restart Kaspersky Thin Client while in the Kaspersky Thin Client main window. |
Win+A or Win+N |
Open the notifications panel while in the Kaspersky Thin Client main window. |
Win+↓ Win+↑ |
Collapse or restore a window while you are connected to a virtual application. |
Win+M |
Minimize all windows while you are connected to a virtual application. |
Win+Shift+M |
Restore all windows while you are connected to a virtual application. |
Updating Kaspersky Thin Client in the thin client interface
Kaspersky Thin Client can be updated only if the thin client is connected to Kaspersky Security Center.
After the updates are downloaded to the device, the Kaspersky Thin Client interface displays a notification with the time when the update will be applied.
You can install an update in one of the following ways:
- Directly from the notification about the available update
- When restarting or turning off the thin client
- In the Kaspersky Thin Client control panel, click the shutdown button
 .
. - Depending on whether you plan to quit or continue working with Kaspersky Thin Client after the update, do one of the following:
- If you want to continue working, select Update and restart in the menu that opens.
The updates will be installed, and Kaspersky Thin Client will restart.
- If you want to quit working, select Update and shut down in the menu that opens.
The updates will be installed, and Kaspersky Thin Client will shut down.
- If you want to continue working, select Update and restart in the menu that opens.
- In the Kaspersky Thin Client control panel, click the shutdown button
- In the System update section
- In the Kaspersky Thin Client control panel, click
 and select Tools in the menu that opens.
 - Select the System update section.
A window opens, displaying information about the current system version and downloaded updates (see the figure below).
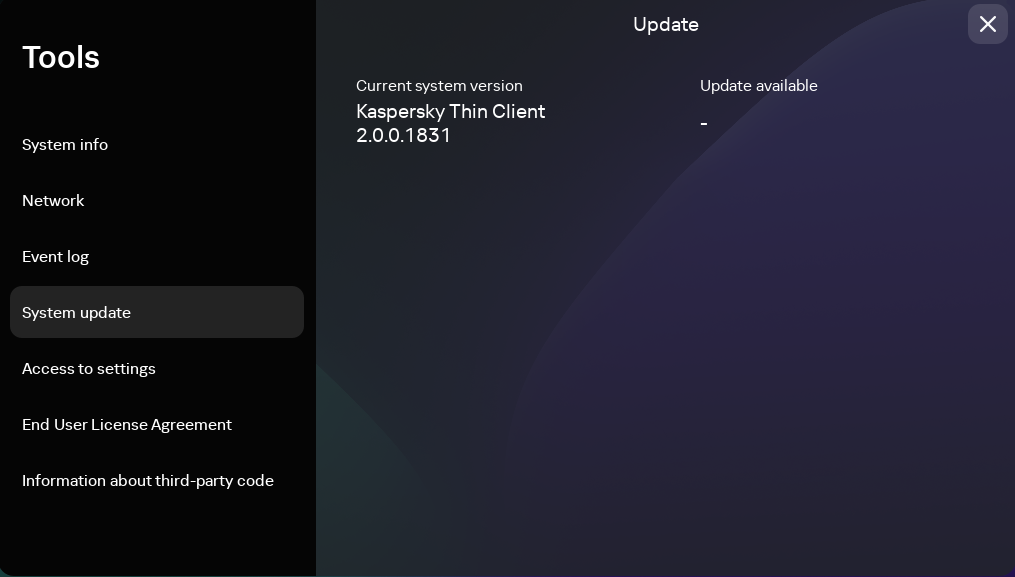
Tools. System update section
- Click Install and restart. If no updates are available, the button is not displayed.
The updates will be installed, and Kaspersky Thin Client will restart.
- In the Kaspersky Thin Client control panel, click
If a Kaspersky Thin Client update has been downloaded but you have not yet restarted, the update will be installed automatically during the next restart or shutdown of the device.
Detailed information about centralized update of thin clients using the Web Console is provided in a separate article.
Page top